and Flickr https://www.flickr.com/photos/61780130@N04/with/9329067204/
hope to see you there!
PS-New email: Rabbitfightercustoms (at) Gmail (dot) com. No more old school AOL address!

Had a pretty good day in Santa Fe today.
PS- click on the pic to go to the Flickr page ...it's where all the action is these days!
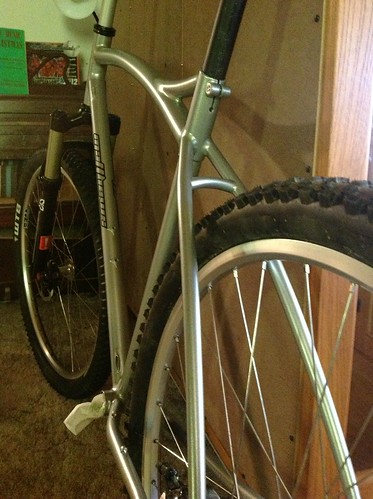
I love the winged "M" I've been using lately, it needs some refinement but it has that classic look that I dig. But the font for the downtube sticker...hmm, I need some help there huh? I wonder if there are any graphic design guys out there who might be interested in a bike work/design work trade.
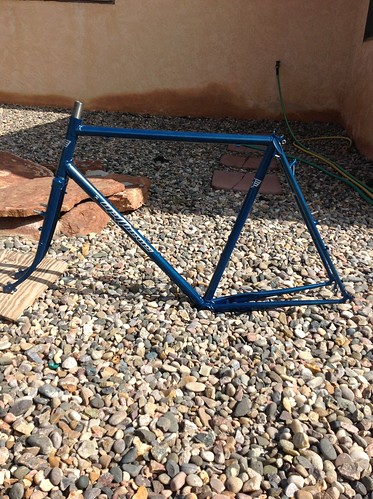
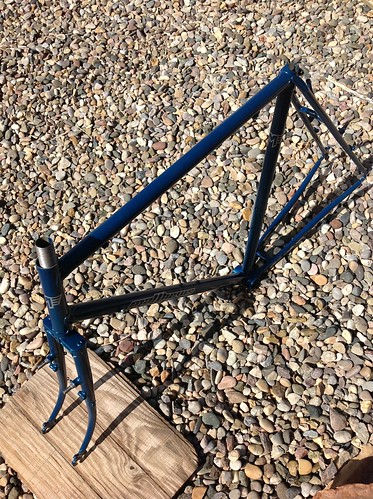
A nice 650b before it gets packed up and shipped.
Click on any pic to go to the Flickr page and see the latest.
I went to be in the middle of the "scene" for once. I didn't go to be flashy - all but one of the bikes I brought were daily riders with at least 1000 miles on them. I didn't even enter anything in the awards.
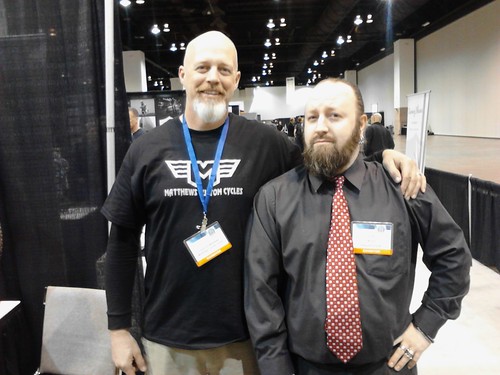
I just wanted to meet guys like Rody Walter ( Groovy Cycles) and Eric Noren ( Peacock Groove) and talk to all the other like-minded folks there. With the exception of the few times I started feeling like a used car salesman, the show was a great success!
A special thanks to Scott who endured the hipsters and getting stranded by a snowstorm for a day in Trinidad...are you ready to go to North Carolina next year?
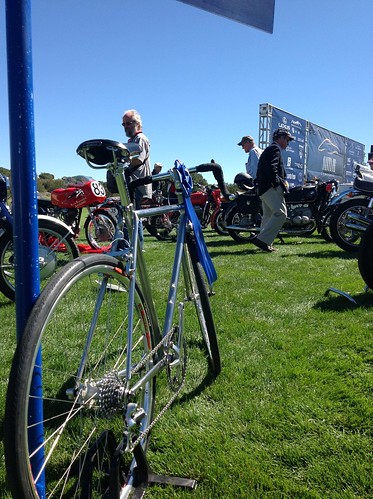
Not a bad setup. I was lucky to get a corner! It was funny to see what types of people gravitated to what bike.
The exception was this kid's bike in the front. Everybody liked that one.